

A Step-by-Step Guide for Manually Setting up Bakery Demo with Wagtail
A tutorial for Windows Developers

Frontend Developer
Introduction
Wagtail is a Content Management System (CMS). It is written in Python and built on the Django framework. It focuses on flexibility and user experience and is used by some of the world's best-known organizations, including NASA, Google, Mozilla, MIT, and the UK's National Health Service, as well as museums, universities, non-profits, governments, banks, studios, restaurants, startups and bloggers around the world.
It is an Open Source project, which means that its code is available for anyone to view and use and anyone can make contributions to the project. Reading Wagtail’s official documentation is essential as this tutorial will build on your knowledge from the documentation. If you haven’t, here is a great place to start.
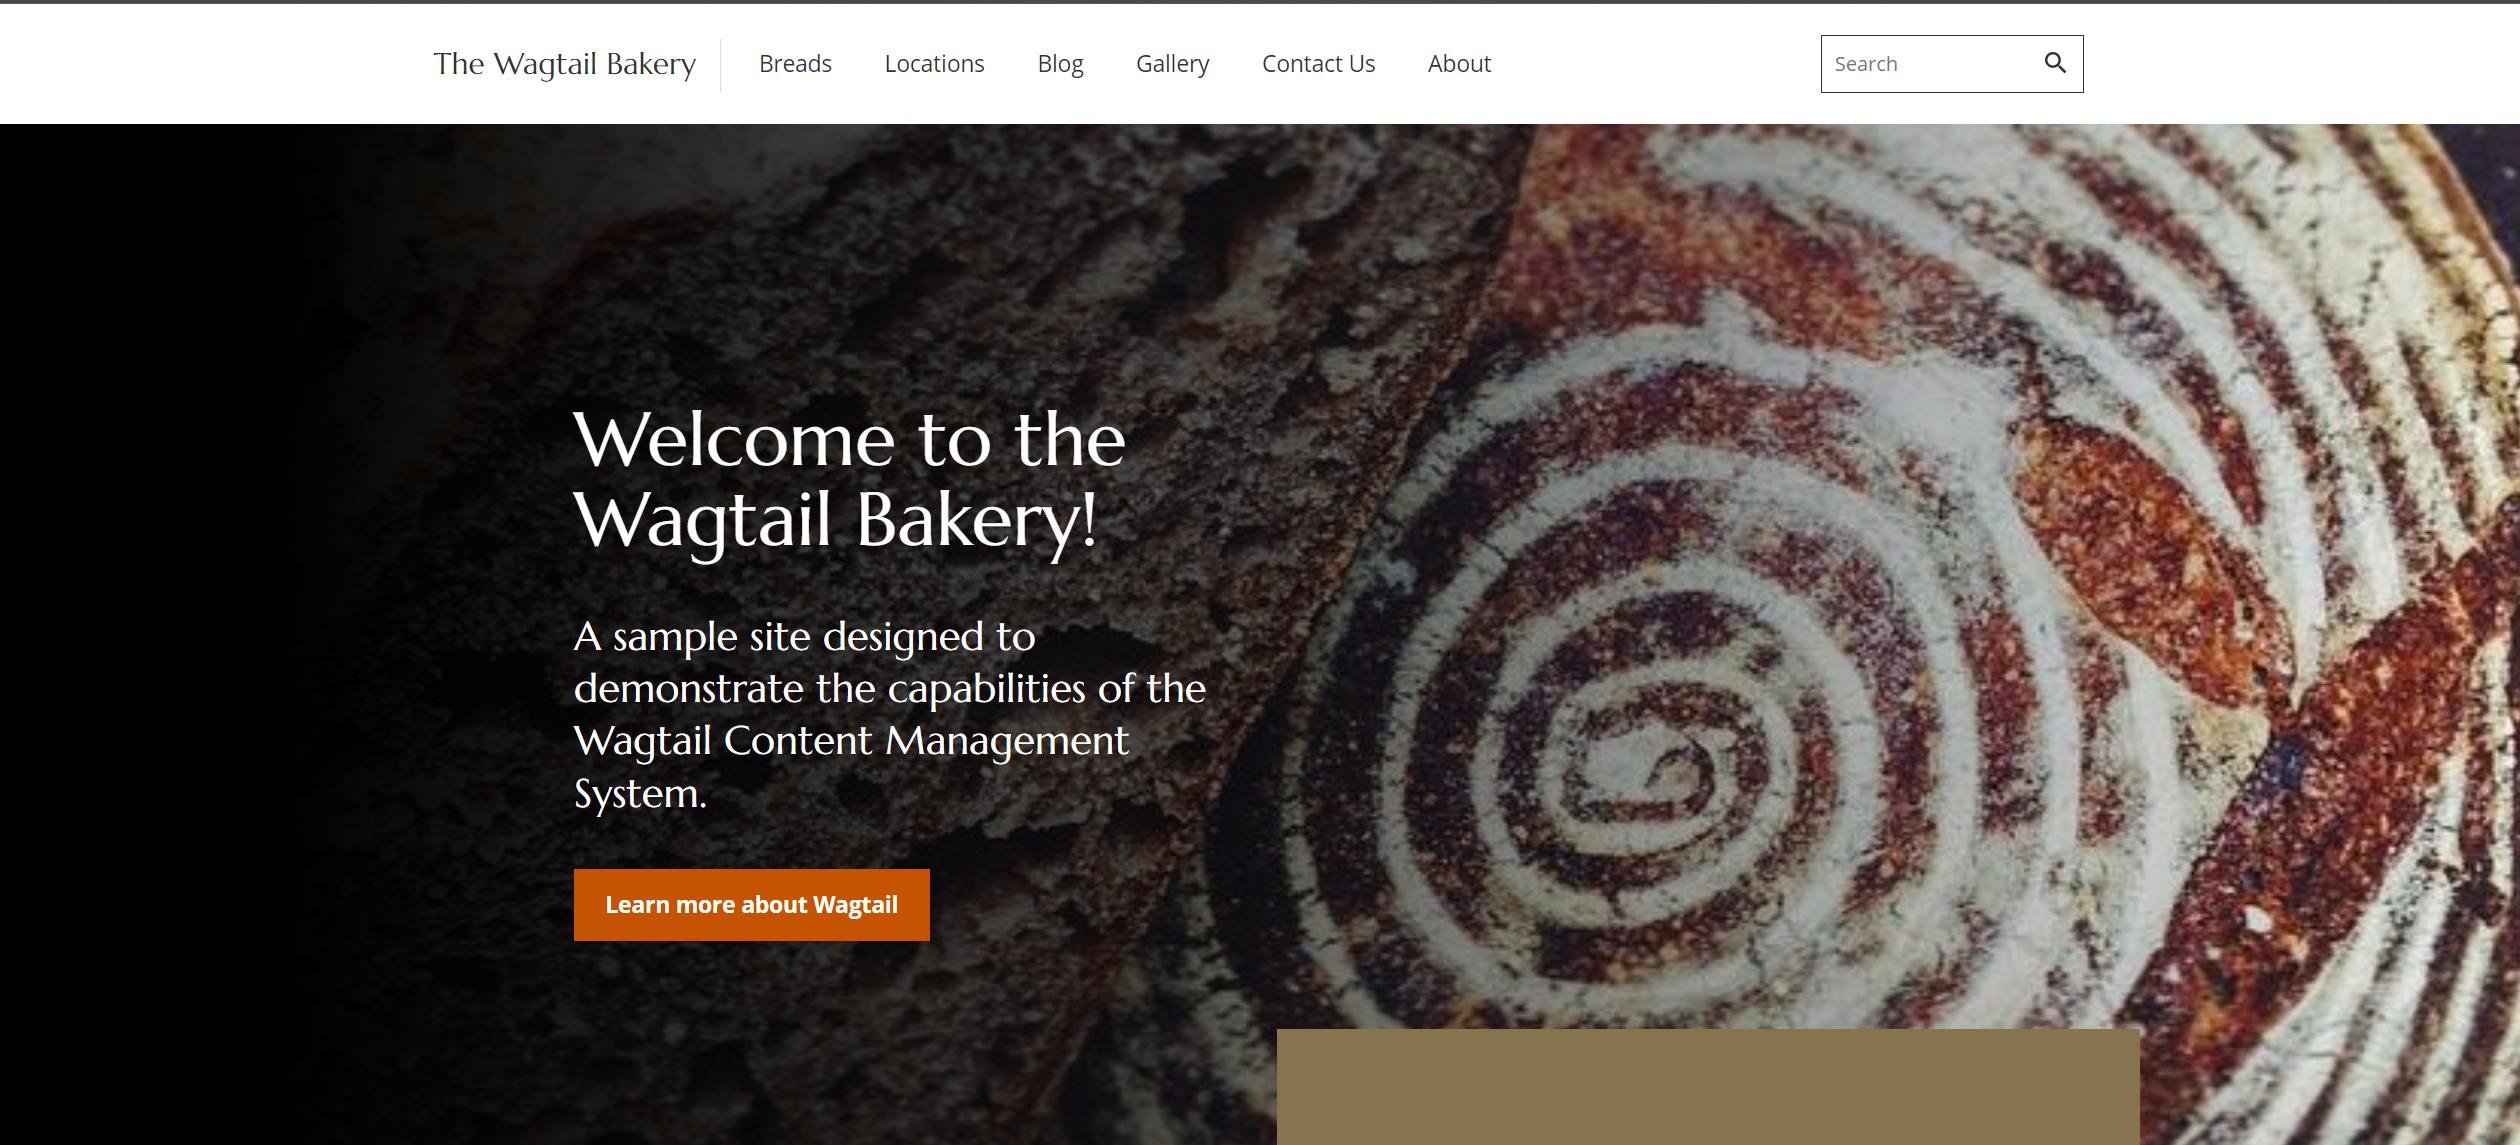
The Wagtail community has built a test site called Bakery Demo, which is used to emulate a real word project so that changes in Wagtail code can be tested. The Bakery Demo is also great to take a quick tour and see how everything works on a real website while reading the documentation.
If you are new to the community, setting up your virtual environment might be a bit confusing at first so the goal of this tutorial is to break it down as much as I can.
Please note that this tutorial is tailored specifically toward Windows users, hence, some commands may not work on Mac and Linux. If you use any of the latter, there is detailed documentation on how to set up Bakerydemo using Docker or Vagrant.
Manually Setting up Bakery Demo
We will be using git bash because it is similar to Linux and Mac terminals and the quickest way to set up. Note that ctrl V and C do not work in git bash and you will have to right-click and select the action you want to perform.
Creating an empty folder
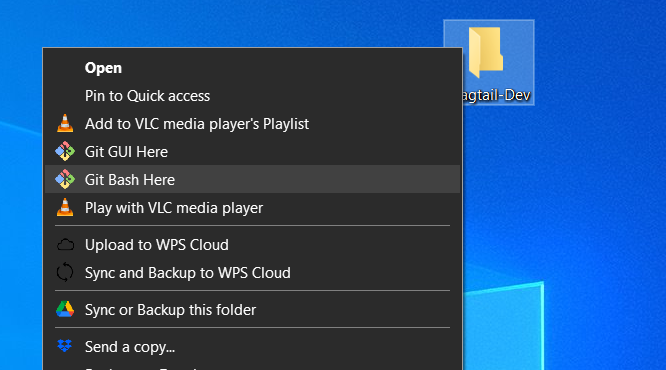
Firstly, you need to create a folder that will serve as a host for both projects in your preferred location - in this tutorial, we will be using the desktop. Give your folder a unique name - we will use wagtail-dev. Right-click on the folder you created and click on Git Bash here
Cloning the projects
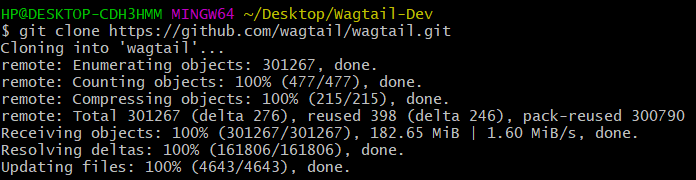
Inside your wagtail-dev folder, paste
git clone https://github.com/wagtail/wagtail.git.
This creates a copy of the wagtail repo on your system.
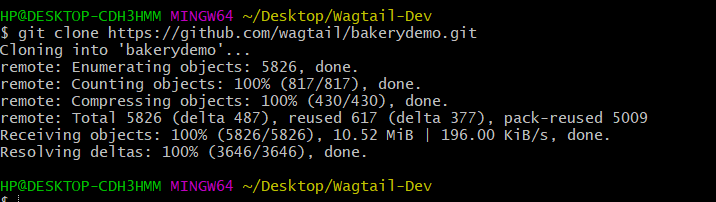
Still inside your wagtail-dev folder, paste git clone https://github.com/wagtail/bakerydemo.git.
Setting up Bakery demo
To effectively work and test what we have worked on in our wagtail folder, we would need the bakerydemo site. Setting it up is straightforward, simply follow the steps below:
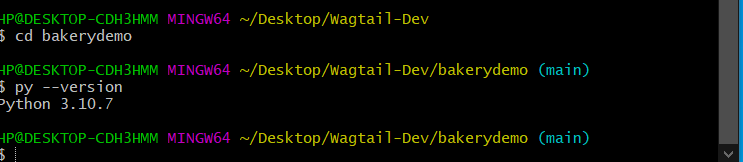
Change your directory into the bakerydemo folder cd bakerydemo
Confirm you have the most recent python version
py --versionif not, you need to install the latest version before going further.
Creating and activating our virtual environment
What is a virtual environment?
Virtual environments solve compatibility issues when working on a project. For example, if you need specific packages and dependencies in a project, you get to install them in your virtual environment instead of globally which could break other projects. Think of it as a box labelled “coding project” and in this box, you only have packages and libraries with specific versions and dependencies needed for this particular project. You can have multiple boxes in your storage without one interfering with the other. Just activate whatever box (virtual environment) you need for your project and exit when you are done.
Some advantages of using virtual environments include:
You get to use whatever version of a package you need for a particular project without breaking something in another project.
Like in our case, you can organize packages much better and know exactly what packages are needed to run the code in case contributors need to run it on their machines.
Installing and activating our Virtual Environment
Run the following commands:
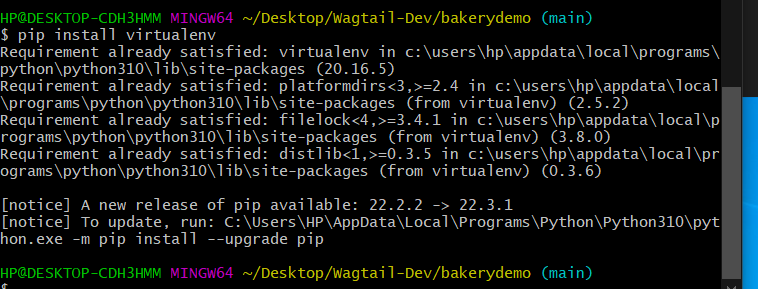
pip install virtualenv. Virtualenv is a third-party package that is popular for creating virtual environments.
Next, run
py -m venv .venv. This creates your virtual environment in your project directory. The .venv simply states the location to create the virtual environment.venvwill create a virtual Python installation in the .venv folder.source .venv/Scripts/activate. This activates your virtualenv
 Awesome! Now we’ve got our virtual environment up and running!
Installing and running requirements for the setup
Please note that running some of the commands might take a while, don’t be tempted to cancel before it is done installing. Also, because of the length of the results, only the concluding part is shown here, yours would be a bit longer. Now, let’s run the following commands:
pip install -r requirements/development.txt. Requirements files serve as a list of items to be installed by pip.
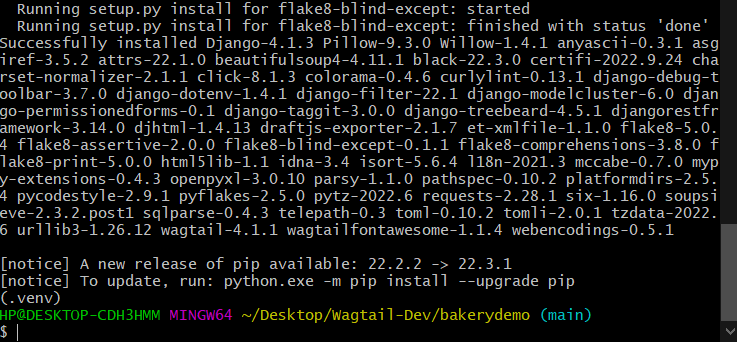
pip install -e '../wagtail[testing,docs]' -U.
The -e here stands for editable and enables you to install a project in editable mode (i.e. setuptools “develop mode”) from a local project path or a VCS URL. This is a critical part of the process and missing this can lead to major issues.

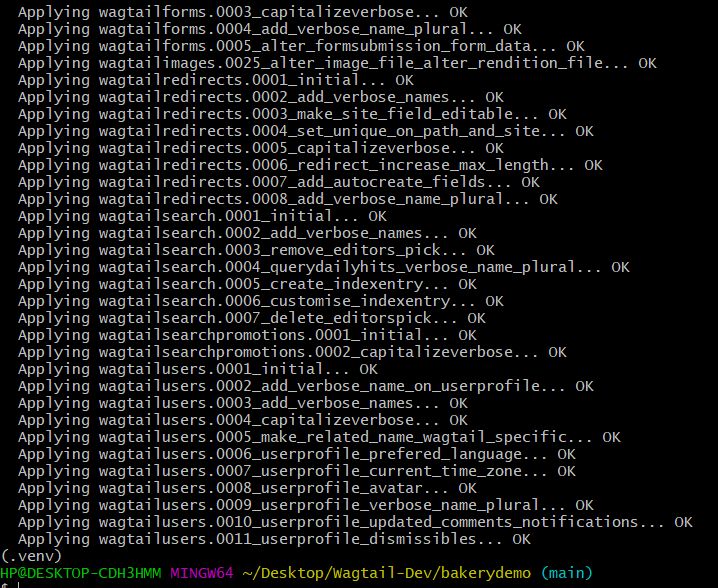
./manage.py migrate. This command ensures that the tables in your database are matched to the models in your project. Every time you alter your model (for example you may add a field to a model) you will need to run this command to update the database.
./manage.py load_initial_data. This gives you access to hard-coded data pre-populated in the database.

./manage.py runserver. This starts up your local server
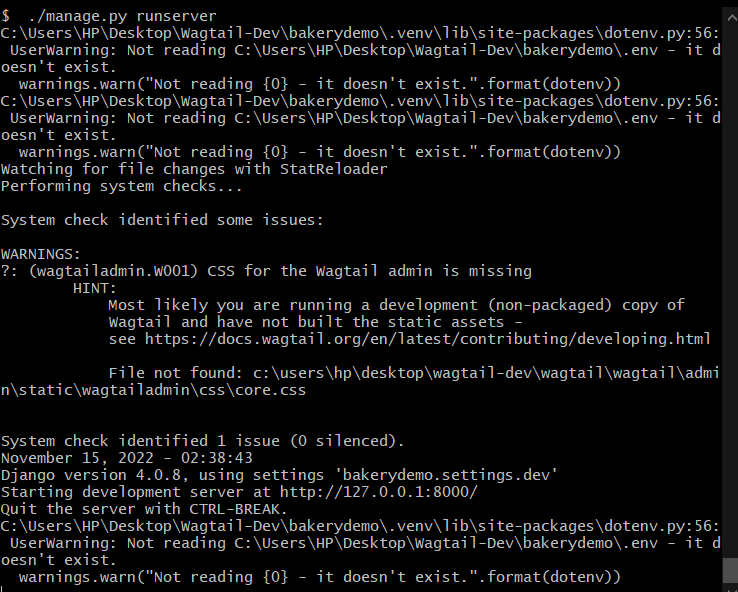 All set!! You should be able to view your bakerydemo site and admin in your local server http://127.0.0.1:8000/
Setting up for changing frontend code (CSS/JS)
Now that we have our site up and running, we need to make the necessary installations to our wagtail folder.
In a separate terminal, cd into the wagtail folder that was cloned earlier. There are two ways we can go about this:
Open in VS code: simply open a new window and drag and drop the wagtail folder inside your code editor.
Open through git bash: open the wagtail folder on your desktop, right-click and select “git bash here” this will open a new git bash terminal your path should look like this "...Wagtail-Dev/wagtail" then type
code .to open a new window in your code editor.
Open a new terminal in your code editor
Type
npm ci. This will install all necessary packages for the project to run effectively.Next, run
npm run build.- Run,
npm run start.
Awesome!!! You now have both your bakery demo and wagtail running and can now make contributions to the project and test.
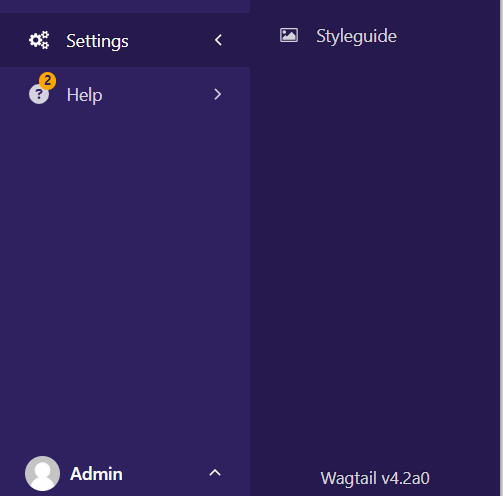
Confirm that your wagtail is connected
A quick way to verify that your wagtail and bakerydemo site are connected is to go to your admin page and click on Settings you should be able to view wagtail and the version you are running. Now you can make changes in your wagtail folder and view the bakerydemo site!
Conclusion
Contributing to open source in general can be difficult at the beginning, especially with a project as large as this but it gets easier I promise. Just take one small step at a time. I am rooting for you!
Sources:
- https://wagtail.org
- https://pip.pypa.io/en/stable/cli/pip_install/
- https://packaging.python.org/


